
How to Prepare Miniatures
If you've chosen the Unprepared option, this guide will walk you through the steps needed to prepare your miniature for painting. With a few simple tools and techniques, you can achieve excellent results.
Note: Depending on the specific miniature and the desired level of finish, you may only need to perform some of the steps outlined below, or even none at all. Examine your miniature carefully before beginning.
Initial Inspection & Cleaning Notes
Some unprepared miniatures might look a little dusty upon arrival. This is often due to a water residue left after cleaning them during production. This dusty appearance does not indicate any problem with the product. You can easily remove the residue by gently brushing the miniature with a soft, thick brush, such as a make-up brush.
If you feel the need to further clean the miniature, avoid using water. Instead, use isopropyl alcohol (IPA) and a brush. This will help remove any remaining residue or dirt without damaging the resin.
What You'll Likely Need
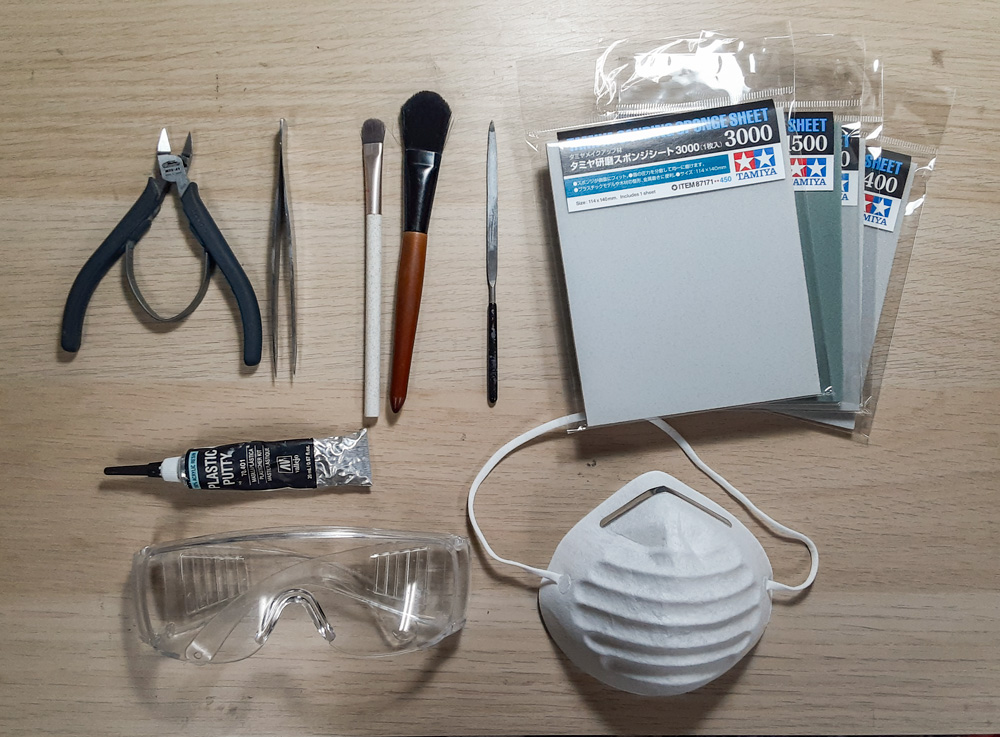
• Clippers: For cutting away supports.
• Tweezers: For removing tiny supports and debris.
• Brushes: To remove any dust and debris.
• Sanding Equipment: A variety of sanding papers, sponges, and/or files with different grits.
• Gap and Hole Filling Equipment: Plastic putty, hobby filler, or other appropriate material.
• Safety Goggles: To protect your eyes from flying support pieces.
• Mask or Ventilated Area: To avoid inhaling sanding dust.
1 Small Support Removal
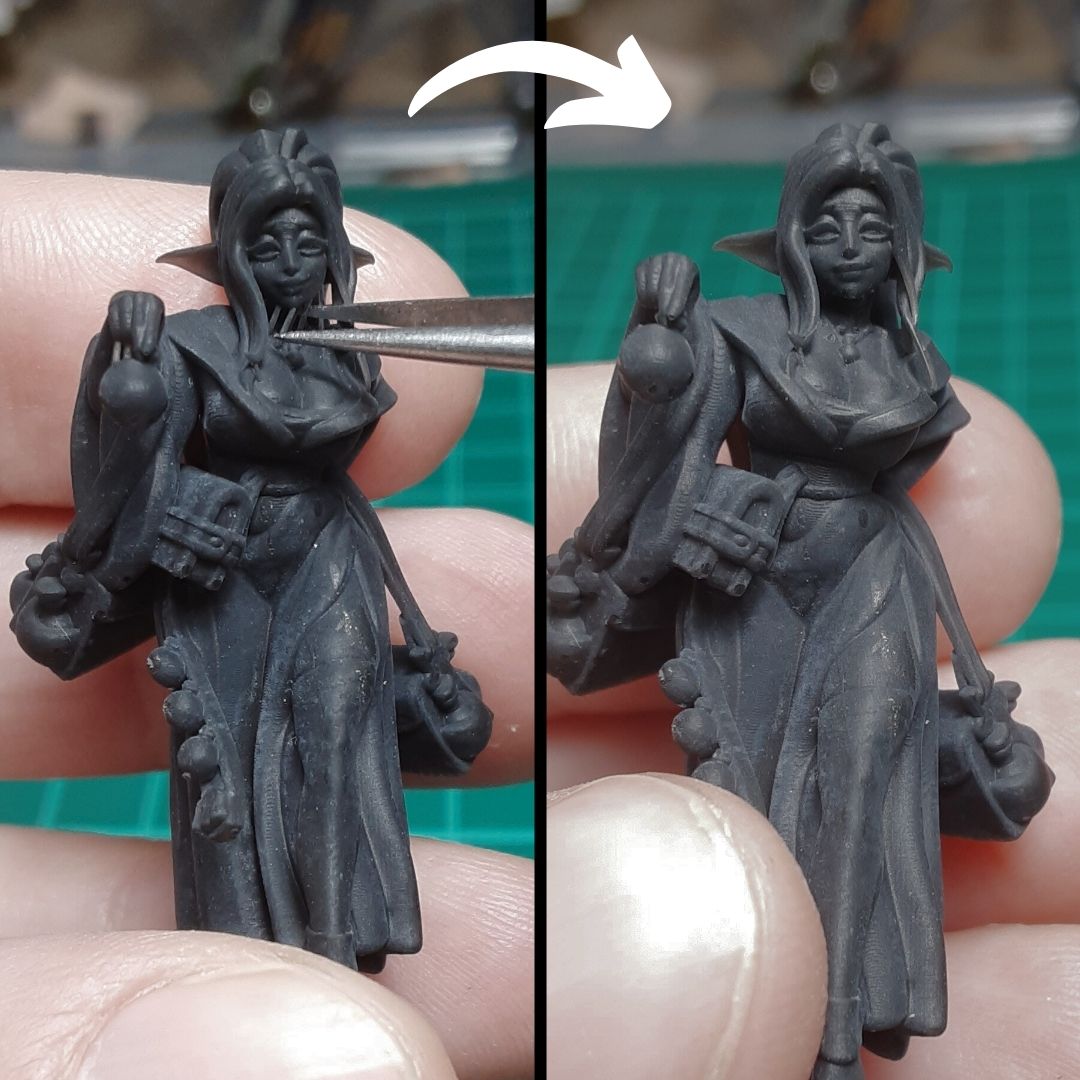
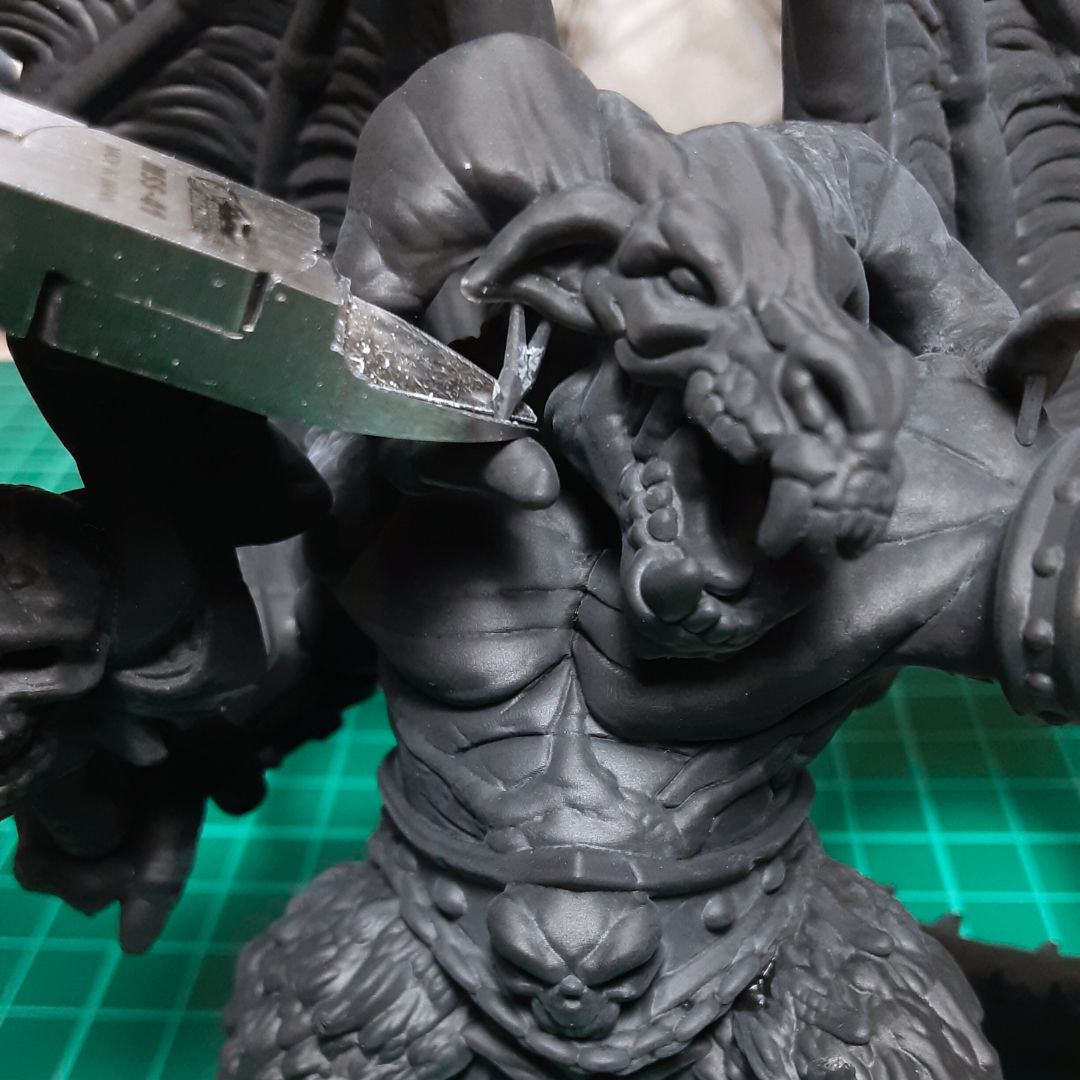
We remove the main support structure, but some smaller supports might be left on the miniature. Tweezers and clippers can be used for this step. Wear safety goggles to protect your eyes from any flying pieces. Be careful not to damage the miniature's details while removing supports. Cut close to the surface, but avoid digging into the model.
2 Sanding
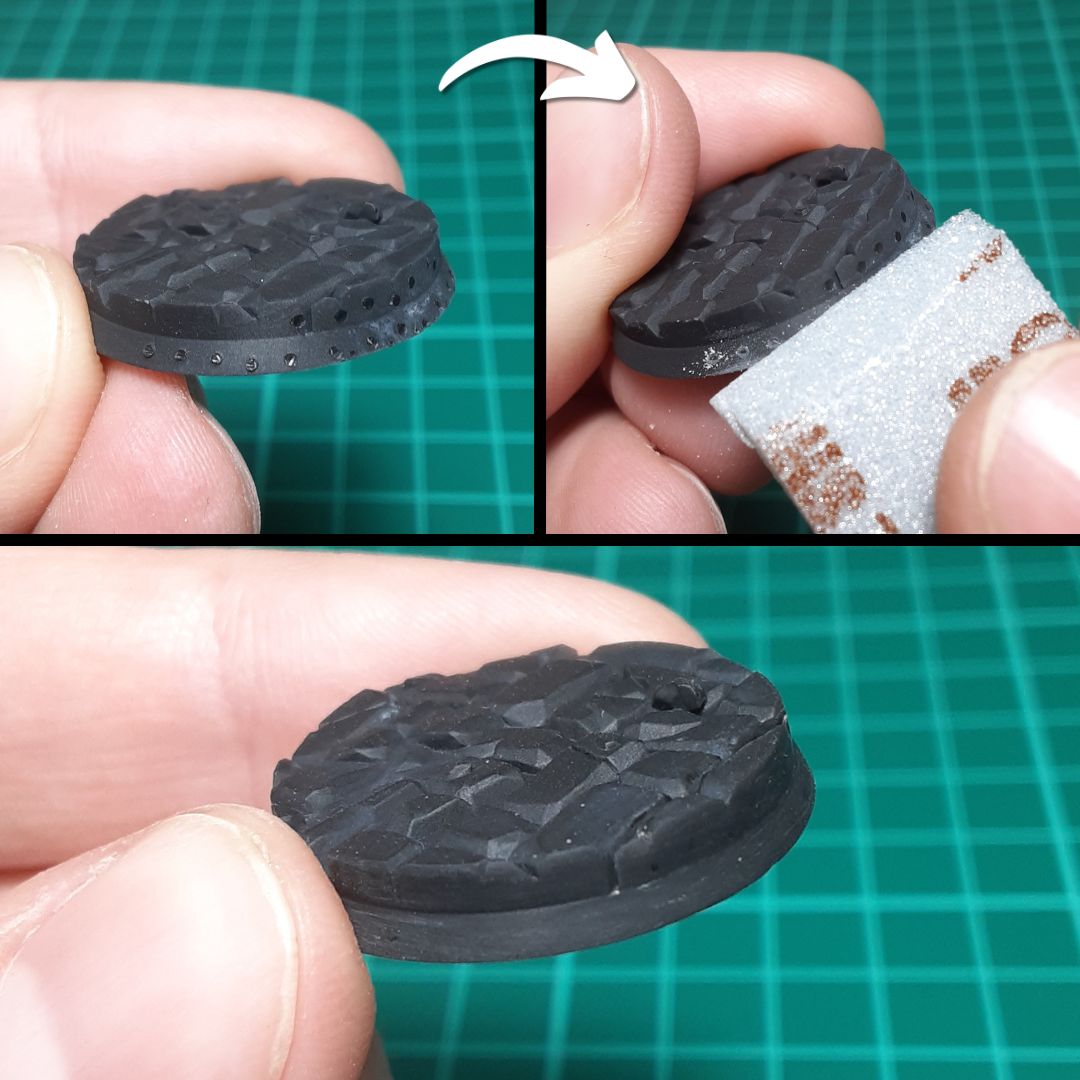
Some supports can leave visible marks when removed. Sanding will smooth these marks and create a more even surface. Working in a well-ventilated area or wearing a dust mask is recommended, as sanding can generate dust.
- For larger support marks: Start with a rougher grit (400-600) to remove the bulk of the mark, then work your way up to a finer grit (2000-3000) for a smooth, polished finish.
- For smaller support marks: Sanding directly with a fine grit (2000-3000) may be sufficient.
- Larger miniatures usually need more sanding than small ones.
- We recommend sanding sponges: They are flexible and can bend to fit the miniature's shape, making it easier to reach difficult areas.
3 Support Mark and Hole Filling
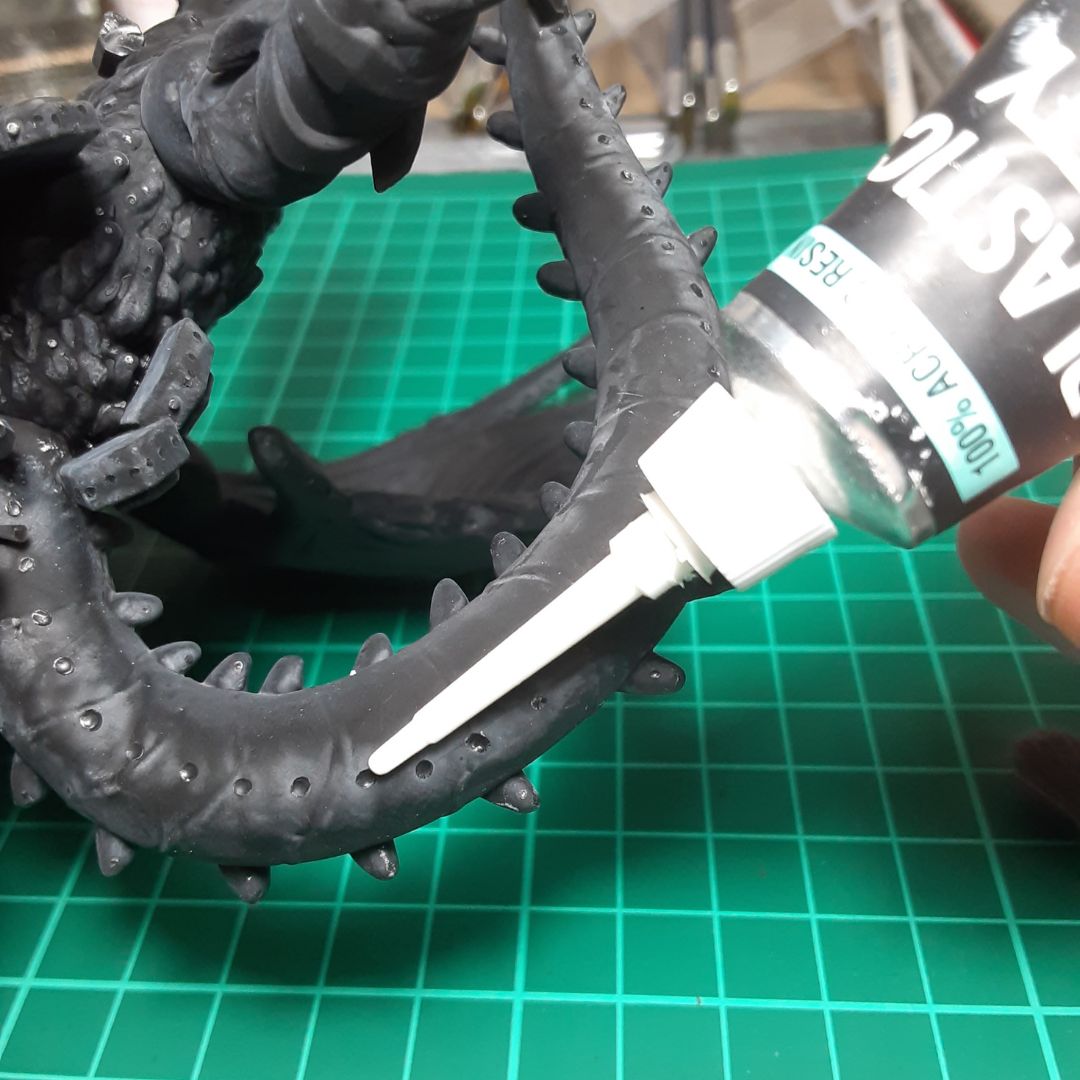
On larger miniatures, large supports can sometimes leave a cavity mark when removed. If sanding is not enough, you can use some plastic putty or other filling material to fill them.
We always try to use the smallest and fewest supports possible so not many miniatures should require this process.
- Apply the filler: Use a small tool (like a sculpting tool or toothpick) to carefully apply the filler to the gap or hole.
- Smooth the filler: Following the instructions for your chosen filling material and tool, smooth the filler and blend it with the surrounding surface.
- Let it dry completely: Follow the manufacturer's instructions for drying time.
- Sand the filled area: Once dry, sand the filled area smooth, starting with a medium grit and finishing with a fine grit.
Filling drainage holes on hollow miniatures
Some large miniatures also have draining holes because they are printed hollow. These holes can be filled in the same way with plastic putty or other gap filling material.
With a little practice, you'll become proficient at preparing your miniatures. Enjoy the process and feel free to contact us if you have any questions!